A Step-by-Step Guide to Retrieving ACF(Advanced Custom Fields) Values with Shortcodes in Elementor

Advanced Custom Fields (ACF) is a powerful tool for adding custom fields to your WordPress site, and Elementor is a versatile page builder that allows you to create stunning layouts. Combining the two allows you to display dynamic content on your Elementor pages using shortcodes. This guide will walk you through retrieving ACF values with shortcodes and integrating them into your Elementor designs.
Step 1: Install and Set Up Advanced Custom Fields (ACF)
If you haven’t already installed ACF, follow these steps:
- Install ACF: Go to your WordPress dashboard, navigate to Plugins > Add New, search for “Advanced Custom Fields,” and click “Install Now.” After installation, click “Activate.”
- Create Custom Fields: In the WordPress dashboard, go to Custom Fields > Add New. Create a field group and add the custom fields you need. For example, you might create a text field called “Featured Text.”
- Assign to Post Types: Choose the post types or pages where these fields should appear. Save your field group.
Step 2: Create a Shortcode to Retrieve ACF Values
Next, you’ll create a shortcode to fetch and display the ACF values. This involves adding a custom function to your theme’s functions.php file or a site-specific plugin.
- Access
functions.php: Go to Appearance > Theme File Editor in your WordPress dashboard. Locate thefunctions.phpfile in your active theme’s directory. - Add the Shortcode Function: Copy and paste the following code into the
functions.phpfile:
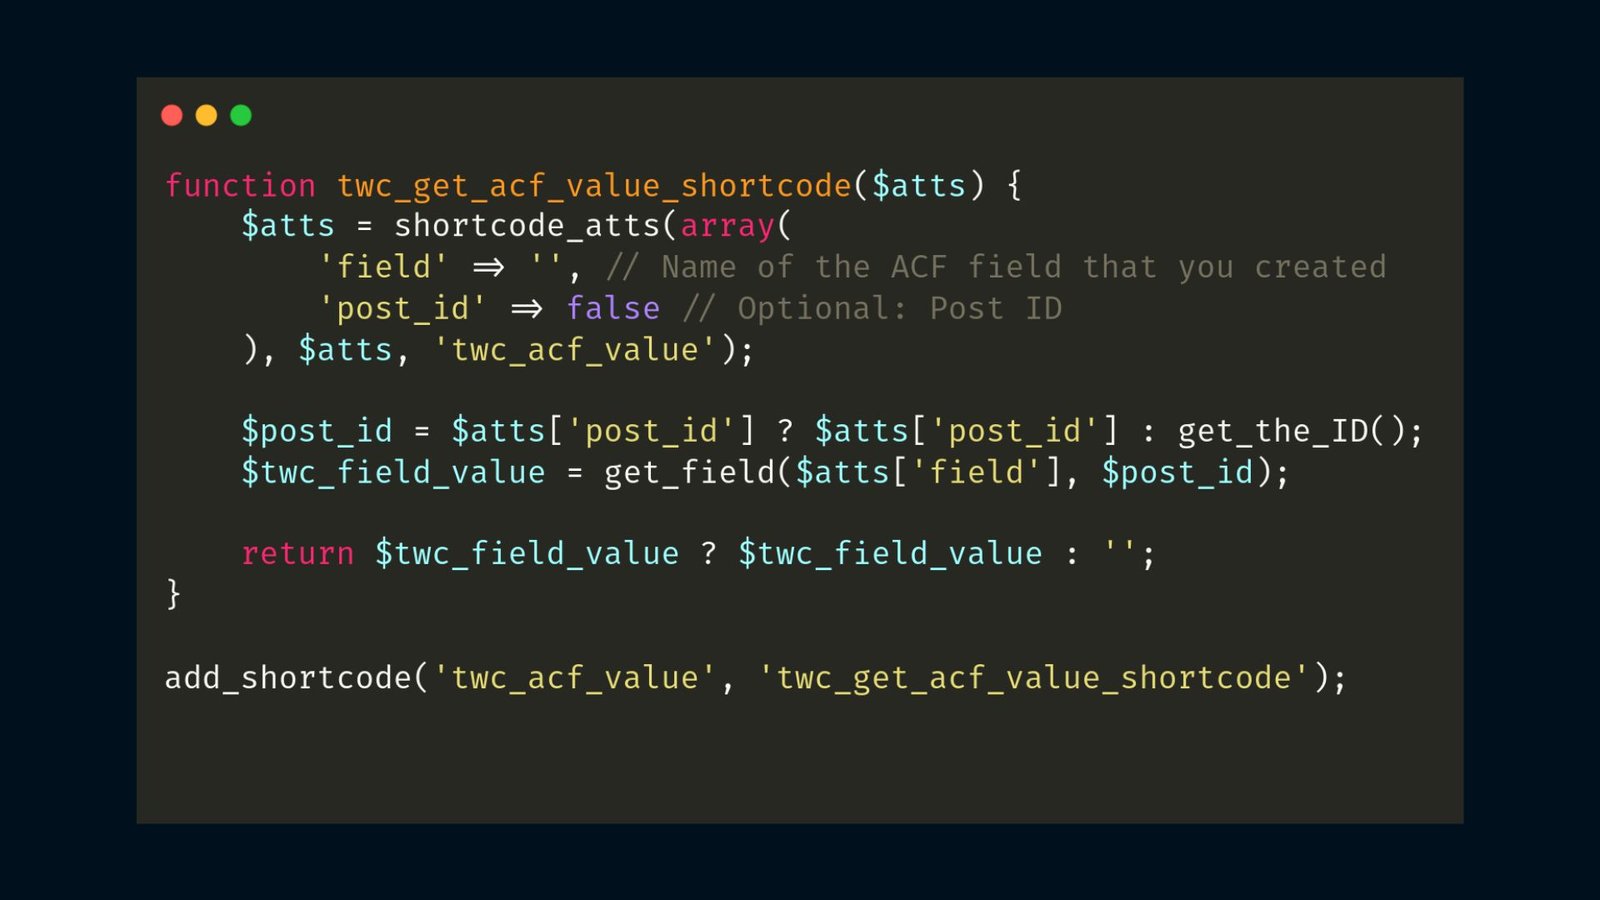
function twc_get_acf_value_shortcode($atts) {
    $atts = shortcode_atts(array(
        'field' => '', // Name of the ACF field that you created
        'post_id' => false // Optional: Post ID if you want to get values from any specific post
    ), $atts, 'twc_acf_value');

    $post_id = $atts['post_id'] ? $atts['post_id'] : get_the_ID();
    $twc_field_value = get_field($atts['field'], $post_id);

    return $twc_field_value ? $twc_field_value : '';
}

add_shortcode('twc_acf_value', 'twc_get_acf_value_shortcode');
- Save the Changes: Once you’ve added the function, save the changes to the
functions.phpfile.
Step 3: Use the Shortcode in Elementor
With your shortcode ready, you can now use it in your Elementor pages to display ACF values dynamically.
- Open the Elementor Editor: Go to the page or post where you want to add the ACF value and click “Edit with Elementor.”
- Add a Shortcode Widget: Drag the “Shortcode” widget from the Elementor panel to the desired section of your layout.
- Enter the Shortcode: In the widget settings, enter the shortcode, specifying the ACF field name and (if necessary) the post ID. For example:
[twc_acf_valuefield="your_field_name"]or[twc_acf_value field="your_field_name" post_id="123456"] - Preview and Adjust: Preview your page to ensure the ACF value is displaying correctly. Make any necessary adjustments in the Elementor editor.
Step 4: Customize and Expand
You can further customize how ACF values are displayed by:
- Styling with Elementor: Use Elementor’s styling options to format the content pulled by your shortcode.
- Conditional Logic: Modify the shortcode function to include conditional logic based on the ACF field value.
- Repeaters and Loops: If you have a repeater field in ACF, you can extend your shortcode function to loop through and display each item.
Conclusion
Following this step-by-step guide, you can easily retrieve ACF values using shortcodes and use them in your Elementor designs. This approach offers you the flexibility to display customs dynamically.
Get in touch with us for WordPress website development and customization.